
Summer is a great time to take advantage of fun, outdoor science activities! Whether you enjoy hiking with your child or cooking in the kitchen, there are many ways to engage your child in fun summer science projects.
A fun aspect about summer is being able to conduct scientific experiments outdoors in God’s creation. Some of these experiments are a little messy, but they clean up readily on a surface that can be hosed off.
Check out these 5 fun summer science projects for kids that is sure to keep them learning this summer!
1.Mentos and Diet Coke geyser

Volcanoes have always been a point of fascination for children, so why not create one in your own backyard? This experiment can be messy, so make sure that you have a wide-open space that can get sticky!
Supplies: a 2-liter bottle of Diet Coke, a roll of Mentos candy, and an open space outside
Step 1: Open the Diet Coke and set it upright in a flat, open space.
Step 2: Add all of the Mentos to the soda at once.
Step 3: Stand back and watch your geyser!
2.Homemade compass
Explorers are another topic of interest for many children. With this project, you can work with your child to create a homemade compass that can be used to learn about directions, using a map, and the magnetic poles of the earth.
Supplies: a small piece of cork, a needle, a strong magnet, a shallow dish with water (such as a pie plate), and a store-bought compass for comparison
Step 1: Set the shallow dish with water on a flat surface and float the cork on the water.
Step 2: Rub the needle across the magnet about 50 times in the same direction; this will magnetize the needle.
Step 3: Gently set the needle on the cork.
Step 4: Watch the cork as it rotates back and forth and then settles pointing North. You can check the accuracy of the needle with a store-bought compass.
3.Exploding bag
This project gives children an opportunity to create a mini explosion. This project can create a small mess, so be sure to complete it in an area that can be easily cleaned.
Supplies: a sandwich bag, a tissue, 3 tablespoons of baking soda, ¼ cup of water, ½ cup of vinegar, and food coloring (optional)
Step 1: Combine the water, vinegar, and food coloring inside of the sandwich bag; seal the bag.
Step 2: Unfold the tissue and pour the baking soda into the center of it. Fold the tissue into a small square so that no baking soda falls out.
Step 3: Take the sandwich bag and tissue to an area outside that can get messy. Open the corner of the sandwich bag, drop the tissue in, and quickly reseal the bag.
Step 4: Watch what occurs as the tissue gets wet and the baking soda and vinegar mix.
4.Homemade silly putty
A favorite project for children over the years has been making silly putty. Create some memories by making silly putty with your child and telling him or her about some of the fun things you did growing up.
Supplies: a bottle of Elmer’s all-purpose glue, 2 tablespoons of laundry detergent, some food coloring, and a container to mix supplies
Step 1: Pour ¼ cup of glue into the container. Add food coloring and combine until color is evenly spread throughout.
Step 2: Add 2 tablespoons of laundry detergent. Sometimes liquid detergent works best, but powdered detergent will also work.
Step 3: Stir the mixture until it forms a semi-solid that has a putty texture. If the concoction is sticky after mixing for a few minutes, add more detergent.
Step 4: Knead the putty with your hands and squeeze out any extra soap.
Step 5: Store your putty in an airtight container in the refrigerator.
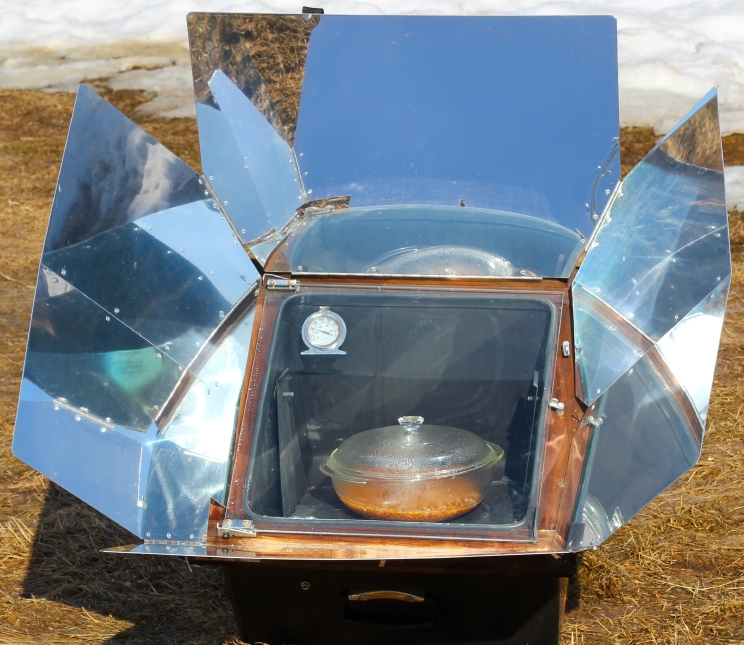
5.Solar oven
A great way for children to learn about alternative forms of energy is by making a solar oven. Solar ovens can be used to cook s’mores, hot dogs, and other simple treats; they are also inexpensive to make.
Supplies: a pizza box (larger boxes work best), a pencil or pen, a ruler, a utility knife, some aluminum foil, a bottle of glue, some plastic wrap, a roll of shipping tape or black electrical tape, a sheet of black paper, a wooden skewer or pencil, a warm sunny day, and a treat to heat in the solar oven
Step 1: On the lid of the pizza box, sketch a square that is about 1 inch inward from each edge.
Step 2: Use a utility knife to cut along the lines of the square, except for the line that is next to the pizza box’s hinge. After cutting through the three sides of the square, fold the flap back.
Step 3: On the inside of the flap, lay aluminum foil and fold the foil’s edges over the flap; glue the flaps down to hold them in place. Be sure to try to keep the foil as smooth as possible.
Step 4: Using plastic wrap, cover the opening created by the flap. Use shipping tape or black electrical tape to secure the plastic wrap in place. Be sure that the plastic wrap is secured to the box on all four sides and that there are no holds in the plastic wrap.
Step 5: Lay aluminum foil in the interior of the box; the whole interior needs to be coated with foil. The easiest thing to do is lay the foil inside of the box first, and then cover the inner side of the flap last. Glue the foil so that it is secure.
Step 6: Using glue or tape, attach a black sheet of paper to the bottom of the pizza box’s interior. This black sheet of paper will help absorb the sun’s rays.
Step 7: Last, use a wooden skewer or pencil to prop the lid open at about a 90 degree angle.
Step 8: On a hot day, set your solar oven outside and place a treat inside of it. Non-windy days with a temperature of 85 degrees or higher work the best.
These summer science activities for kids are great ways to explore God’s creation. It will also give you a great opportunity to talk with your child about how God’s creativity and His handiwork can be seen daily in our lives. We hope you have a fun (and safe) summer!